
It's far from just recording a video and uploading it to make content on YouTube. The editors are what make the video look presentable, interesting, and so ready for viewers. YouTube Studio has built-in editing tools that are convenient for all creators in their pursuit to improve content without third-party software. From trimming clips to adding end screens, this is all designed for beginners and seasoned creators alike.
This article will demonstrate how to edit videos in YouTube Studio step by step.
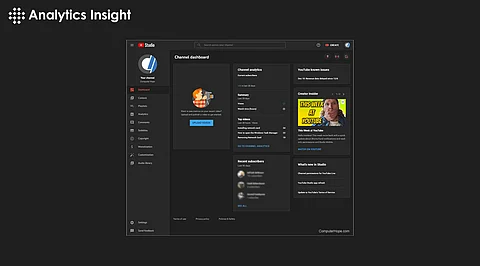
Editing starts in YouTube Studio. Log on and then go to the "Content" tab, which is found within the menu on the left-hand side. This section shows a list of all uploaded videos. Click on the desired video and open the "Editor" within the menu on the left side. YouTube Studio presents a content editing interface with several tools that can be used to refine the content.
The trim feature is the most commonly used, and users tend to remove unwanted parts of a video, such as unnecessary pauses or errors, with YouTube Studio.
In the editing interface, locate the timeline below the video preview.
To enable these functions click on "Trim".
Drag the blue bars at both ends of the timeline to move your chosen start and end dates.
Use the split tool to cut specific sections within the video if only certain parts need to be removed.
Once complete, select the "Preview" option to see your changes and check for accuracy.
Click on OK to save changes or cancel if changes need to be discarded.
End screens are an excellent way to keep viewers engaged and direct them to other content. This can include links to playlists, other videos, or even subscription prompts.
Add An Element in the editor
In the end screen section of your timeline, click the "Add Element" option.
Select the type of element to add, such as a video, playlist, or subscription button.
Position and size the element within the video frame so that it is visible.
Customize the duration of the end screen by dragging its edges on the timeline.
Blurring helps to cover sensitive information, such as personal details, logos, or any other unintended visuals.
Select Blur from the options in the edit menu.
Choose between face blur or custom blur, depending on the requirement.
Change the size and location of blur in a video frame.
Preview the changes to confirm accuracy before saving.
Background music or sound effects can make a video appealing. YouTube Studio offers access to a free audio library containing many tracks and effects.
In the "Audio" tab, click once inside the editor.
Browse through available tracks or search for specific genres, moods, or instruments.
Choose a song and set its placement along the timeline to match the video.
Adjust the audio level to ensure that the background music does not drown out the dialogue or main sounds.
Info cards are interactive elements that appear as small pop-ups within the video. They can also be utilized for promoting other types of content, online sites, or polls.
In the editor, in the "Cards" tab.
Click on "Add Card" and choose the type of card to add.
Set the timestamp for when the card should appear within the video.
Preview the position of the card and save.
Once all the edits are done, the changes should be saved. Edits on YouTube Studio cannot be undone after saving, so be sure to review everything before clicking that final save button. If it meets expectations, click the "Save" button to upload your edited video.
The video editor in YouTube Studio is intuitive and easy to use. There is no need to download other stuff; it just works on any device connected to the internet. In addition to being intuitively designed, it even lets the newest editors operate it seamlessly.
Plan to make edits to save time in the process. Avoid overediting because sometimes simplicity speaks volumes to the viewers. Try to get transitions between cuts smooth so that they look proper and professional. Use music and effects sparsely—they get irritating if overused.
Editing for videos in YouTube Studio is very easy and does not make it complicated for a creator to return and modify the content. With mastering the tools and all features provided by the service, a creator could easily craft exciting videos that would interest viewers and propel growth on their channel. Every video uploaded with practice would become easy and finally improve the quality of the posted videos.