
Windows requires a Microsoft Account during setup, but users can switch afterward with just a few clicks.
Switching to a local account involves creating a new user, transferring files, and assigning admin rights.
After setup, users can freely delete the Microsoft Account and regain control without losing important data.
When installing Windows 10 or 11, users are prompted to sign in with a Microsoft Account. However, specific individuals may require multiple accounts for security, privacy, or local control purposes, making a single account insufficient.
Fortunately, converting to a local account is a straightforward process that can be completed even after the installation is complete. Here is a concise, step-by-step guide to unlinking a Microsoft Account and switching to a local one.
Some people prefer to keep their accounts local for privacy reasons. Others want to stop syncing data and services. Some people just do not want to use an Outlook login every time. But Windows makes it very easy to change later. Changes can be made to ensure that users feel secure and in control.
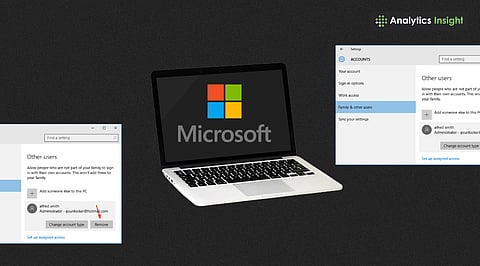
First, the user opens Settings, then Accounts. Select Family & other users (or More users on Windows 10 after an update). Next, select the 'Add Account' option under 'Other Users.'
Windows asks for account information. The user should select 'I don't have this person's sign-in info' and then click 'Add a user without a Microsoft account.' Now, input a username along with an optional password. This will create a local user on the PC.
The new local user, however, is a regular one by default. So, click on the little arrow pointing down beside the local user entry under Family & Other Users to allow for full control. Then select Change account type and choose Administrator. Finally, click OK to make this local account the admin.
Also read: How to Recover a Deleted Gmail Account Easily: Quick Guide.
All personal files from the Microsoft Account folder must be moved. The user opens File Explorer and navigates to C:\Users. They select the old Microsoft Account folder and copy the Documents, Pictures, Downloads, Videos, Music, and Desktop folders to the new local account folder. This safeguards all important data before deleting the account.
You can easily unlink Microsoft account from PC by switching to a local account in Windows Settings. Once the data is moved, the user signs out of the current session. Then they sign in using the new local admin account. This ensures desktop and settings load under the local user.
Follow a detailed Windows account removal guide if you wish to delete a user account permanently.
Go back to Settings → Accounts → Family & other users.
Choose the old Microsoft Account.
Click Remove, then confirm with Delete account and data.
The system will delete the old account and all its associated settings and data (make sure the backup is complete!). The process may take a while.
Backup First: Always transfer files before deletion.
App Reinstallation: Some apps, such as Office or OneDrive, may need to be reinstalled for the new local user account.
Sync Loss: Local accounts don’t sync settings or files across devices. If users want privacy over convenience, this is no issue.
Also read: How to Delete iPhone Backups on Mac & Windows: A Step-by-Step Guide.
Microsoft account setup process allows personalization and synchronization across devices. Switching from a Microsoft Account to a local user is easy and safe. With just a few clicks, users gain control and privacy. Deleting the Microsoft Account from Windows setup makes sense for those who prefer a less connected PC.
Whether it’s to avoid Outlook login prompts or limit data sync, the local account route works well. With this guide, anyone can move to a secure and private setup without stress.